If you have kids, and yours are anything like mine they have a knack for spilling things on the whitest of white shirts. Things like chocolate or grape juice. Things that while you can get the majority of the stain out there is always a fate tinge of color, not quite gone, even after a good bleaching or twelve. So what to do with that practically new shirt? You can cover the stain with an appliqué or patch, but what if it is an odd spot, say close to the collar? Well I had just such a shirt belonging to The Elder A and thought why not use the huge stash of buttons I have and cover the stain with those. She loves things that a bit quirky and different so it was a perfect match. Here is what I did to accomplish the Button Me Up Tee.
On a side note this is a great project for the little ones to help with, they can place the buttons on the shirt and rearrange them to get just the design they want. Another sidebar, this is a great practice in letting go. This project is all about imperfection and will not look right if you try to get exactly the same number/color/order of buttons on the shirt. Just throw them on and see what happens.
Skill level: Total beginner, all you really need is a needle, thread, buttons and some time. I have done it with a machine to make it faster but you can do it by hand as well.
Supplies:
Stained Tee, it can also be new of course but the idea of this was to use a perfectly good shirt that otherwise would have been discarded
Buttons, lots and lots of buttons, any color combo will do
Water soluble pen or marker
Some lightweight interfacing or stitch covering mesh. I use Cover-A-Stitch from All Stitch, great stuff that comes in white, nude or black.
If you are using your machine you will need a button foot, if not just a plain olé needle and thread.

So let’s get started.
Lay out the shirt and begin to place the buttons all over the shirt. Remember do not try to order these in a certain way, just lay them out, move them around until you get the look you like. This what The Elder A ultimately decided she wanted.

The next step is optional, depending truly on how OCD you are. If you are really chill and laid back (teach me how) just remove the buttons and start sewing them on. For me I used the water-soluble pen to mark the place of each button and even took a picture of the shirt to “remember” where the buttons went, but I am WAAAAYYY OCD so…..

Next take the fusible mesh or lightweight interfacing and iron, per package instructions, it on the inside of the shirt where the buttons will end up. This part adds stability and helps hold the buttons in place once the extra weight of the buttons is on the knit.
Now take the shirt back to your machine and start sewing! I used my button foot and just started sewing on buttons. I also did not cut the threads in between each button. I would sew 10-15 buttons before stopping to cut and tie off the threads on the back of the shirt. Be forewarned that as the number of buttons on the shirt increases it might get harder to use your button foot. You might need to use some creative maneuvering to get the foot to go all the way down. Otherwise just sew the last few buttons on by hand.

Lastly trim the threads and tie off the last buttons and you are DONE!! I have found that the best way to wash this shirt is in one of those mesh lingerie bags so that if a button does fall off it is not lost in the washing machine abyss. I also line dry this shirt to keep the dryer from beating off any loose buttons. Even though it is common sense I should note, this is not a shirt for your little ones who will still put anything and everything into their mouths. Buttons can come loose and fall off and go in a mouth, up a nose, in an ear so exercise good judgement when making this for your kids.
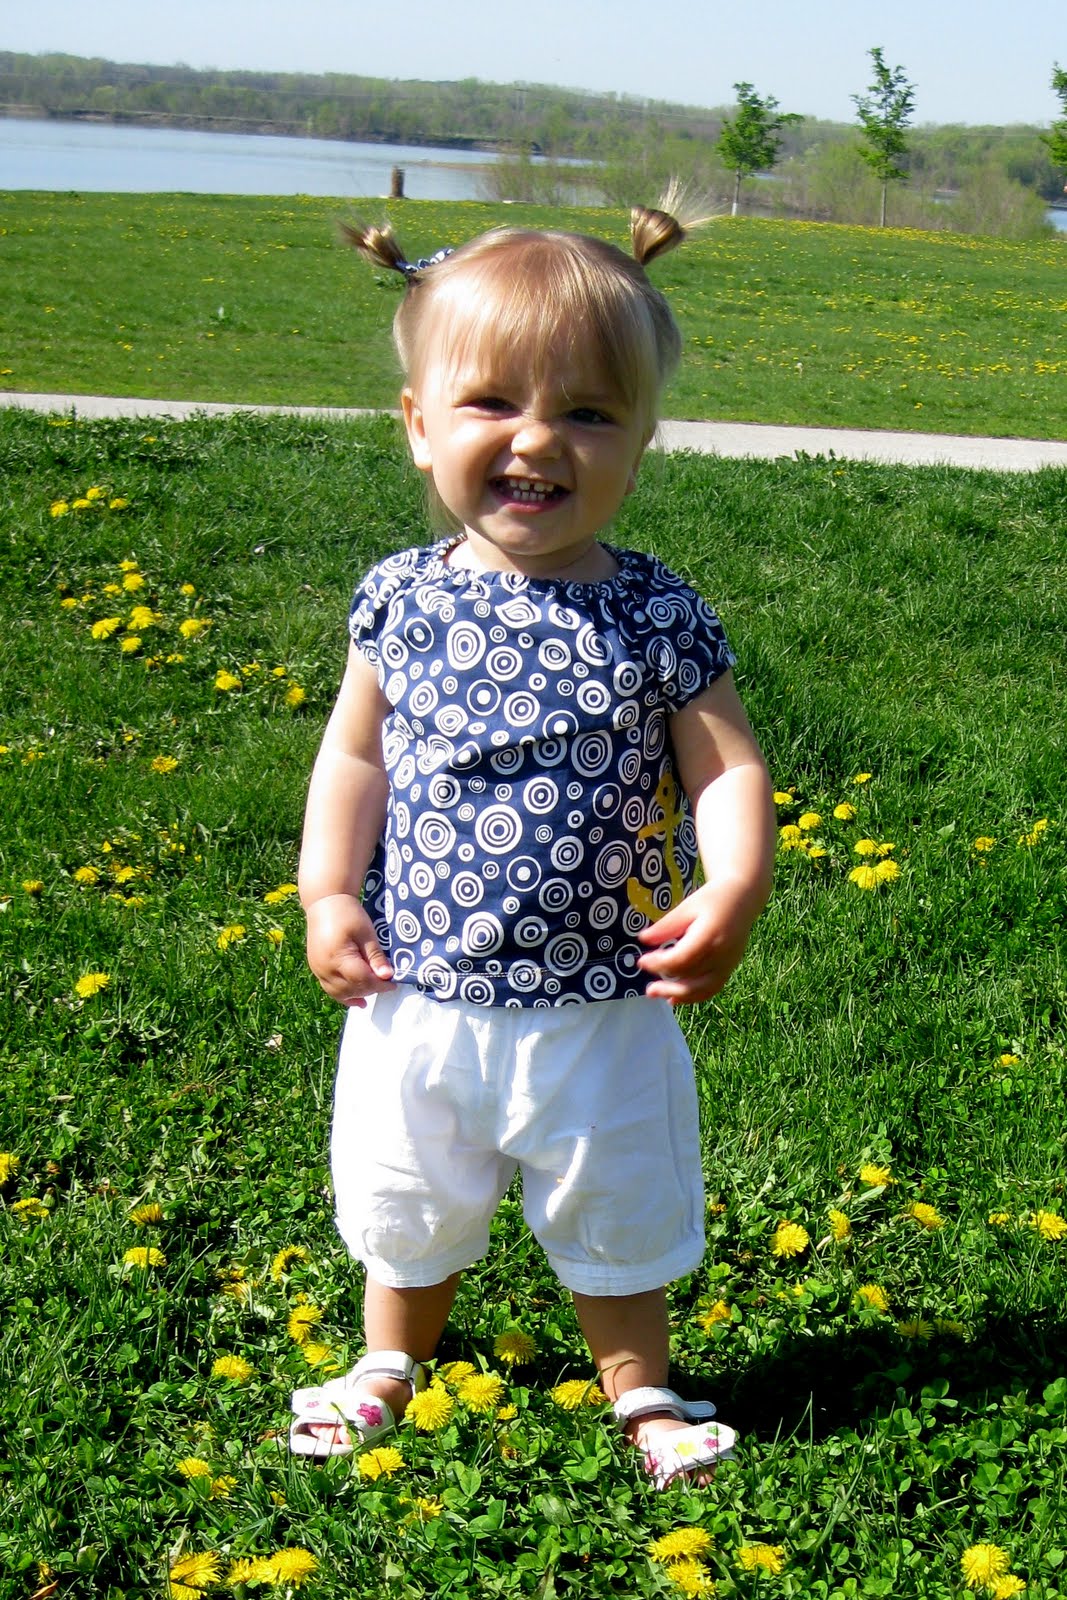
Here is the finished outfit made complete with leggings and a yellow skirt from Target. See how easy peasy that was. Ignore the wrinkles bc it literally just came out of the wash. The Elder A gets tons of compliments on her shirt everytime she wears it and she loves the “clicky” sound the buttons make. I would love to see your version of the Button Me Up tee. Post pics in the comments. Thanks for reading.

Updated May 22: I linked this post to the fabulous Sunday Scoop over at I {heart} naptime. go check it out.

Filed under: Life as I know it, Sewing | Tagged: children, daughter, easy, repurpose, reuse, sewing, t-shirt. buttons | Comments Off on The Button Me Up t-shirt tutorial